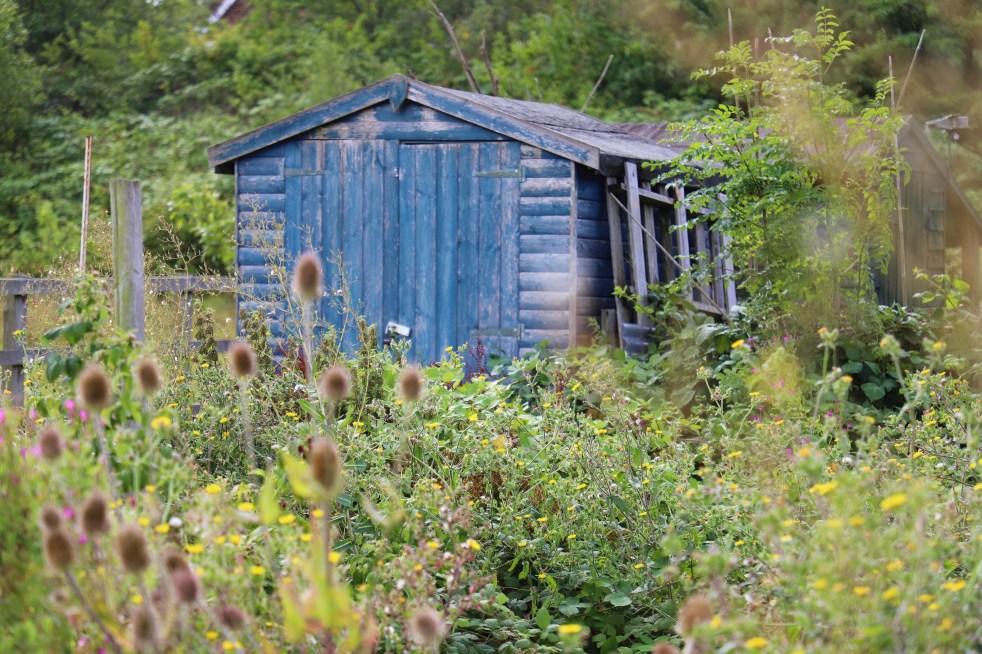
So you’ve just received confirmation an allotment has become available for you to view, with the prospect of signing a tenancy agreement. You hurry along to your local allotment site like an excitable kid, only to be presented with a big horrible overgrown mess. Crikey. Now what? Viewing your very first allotment is exciting but can also be very daunting, more often than not these plots are overgrown after being neglected for quite some time, a far cry from the planned out well tended garden you’d imagined.

I am an allotment owner on a real allotment, I have gone through all the emotions and hard work a new allotment brings. With a bit of planning your allotment can be tamed and will end up being the best thing you ever did. To start you off on your exciting journey here are my 5 top tips for starting an allotment.
1. Plan it out
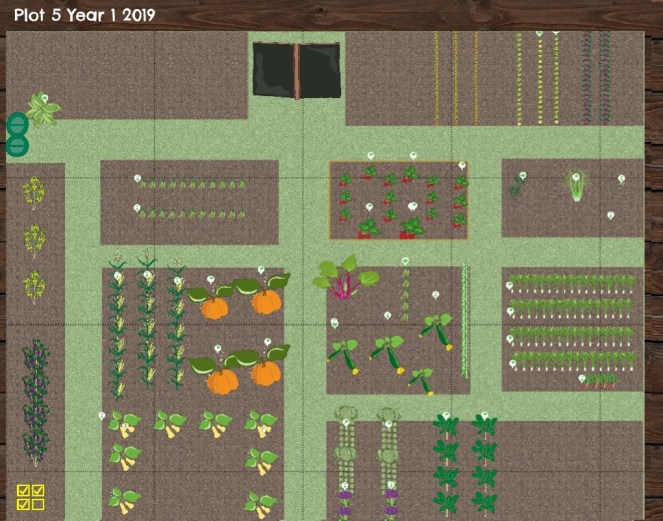
Before beginning work on your allotment have a clear plan of how you want it to look and work for you, sketching it out on paper instantly makes the plot feel more manageable and achievable. Measure your plot and make a note of the dimensions, work out where paths should go – walk it out to get an idea. Think about what you’d like to grow, watch to see how much sun the plot receives and if there are any shady areas, make a note of fixed features such as a shed, water butts, compost bins etc. I used VegPlotter to plan out my allotment, it’s free and easy to navigate using a simple drag and drop interface, instantly add veg beds and crops, paths and a shed (if you’re allowed one on your site) and watch your virtual allotment design come together. Planning out where to grow your crops and keeping a growing record like this also helps with crop rotation the following year. http://vegplotter.com
2. Work one area at a time
Depending on how overgrown your allotment is you may need to strim it down first. Think about how you will cultivate your soil, if you plan to carry out the traditional method of digging you’ll need a sturdy garden spade and fork, or, you may have heard about the growing popularity of the no dig method. If you’re interested in finding out more about going ‘no dig’ click here to view a video by Charles Dowding. Using your plan to work from choose an area to start, once you have an area ready try planting some plug plants or sow seeds as soon as you can, seeing something growing is exciting and very satisfying, especially if you’re gardening with children. Meanwhile, cover the rest of the plot with sheeting or tarps to keep weeds down (particularly useful if you’re digging your allotment), this will also keep the soil moist if you’re working a new plot during the summer months when soil tends to be baked dry, making it difficult to work. Peel areas of tarp or sheeting back as you move from section to section. Take it slowly and set yourself realistic goals, it’s hard work so don’t put pressure on yourself to cultivate it all in the first year. Little and often is the key, don’t risk injuring yourself by overdoing things, work areas in manageable size chunks and you will get there!

3. Introduce yourself to other plot holders
Knowledge from other allotment owners is invaluable, you’ll be amazed at the advice they can share on what tends to do well or not so, giving you a good understanding of the allotment site as a whole. For example, I was given the heads up about white rot (a fungal disease affecting the allium family ie onions and garlic) being a problem for some plots on my allotment site, being forewarned it wasn’t a shock when it appeared on some of my garlic. Depending on the time of year plot neighbours can help to identify things already growing on your allotment. Do take regular strolls around your allotment site and look at what others are doing, gather inspiration and ideas for your allotment.
4. Keep on top of weeding
Again little and often, especially during the growing season to prevent them getting too mature and seeding everywhere. Please try to avoid using weed killer, it’s usually unnecessary and harmful to bees – I’d imagine human health too! Use a hoe to weaken small weed seedlings and lift larger weeds from the soil by hand, easing out with a hand trowel if they won’t pull up easily. Try to get all of the root out, doing this regularly really will pay off in the long run.
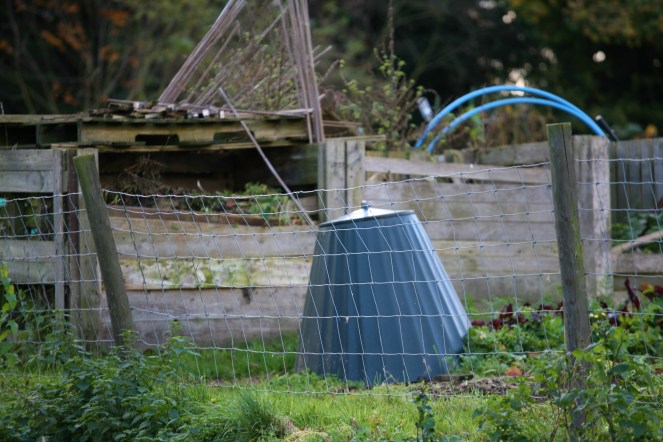
5. Start a compost bin
Include a small area on your allotment to produce compost, you can also add kitchen waste from your home too. Make a simple but sturdy compost bin by joining together wooden pallets, or, ask around the allotment site to see if anyone has a spare plastic bin they don’t need, an old water butt with the bottom removed would work. To be successful with growing vegetables it’s a good idea to feed the soil, this is usually done at the end of the main growing season in autumn. To boost soil fertility dig in organic matter such as compost or well rotted manure, or simply mulch the surface of the soil allowing worms to do the hard work for you. Happy soil = happy veg! Click here to watch a video by Huw Richards – Grow Food Organically, clearly explaining how to make compost.
Oh and one more thing, take lots of photos! Compare them from the first day you started and be proud of what you have achieved.


All good advice. there’s a vole living the bottom of one of my compost bins
LikeLike
Great advice there.
LikeLiked by 1 person